zondag 27 september 2009

Nouk Donna Hair Conversion - Something I'm really proud off.


Well, guess what, another hair conversion. I'm actually really proud off this one. I worked very hard and very long. It's a conversion from one of Nouk's (who we all love btw, to bad she is retired...) female hairs. I loved the hairdo so much I just had to convert it. It's smoothly animated (really difficult, had to redo animation like four times.), no gaps and all that. Also I tested it thoroughly in game.

It's a TS2 to TS3 hair. The original mesh was made by Nouk.
For this hair I actually made a new mesh for the first time, not just move vertices around. The round scalp thingy above the neck is mine! :D

The hair is Teen trough Elder for females only.

It's fully recolorable. With propper working highlights, tips and roots. Thanks to Bosies tutorial (again.)

Download it HERE!

Enjoy it!

Polygon Counts:
Polys: 5262. Quite high but it's a long hair and it takes a lot of vertices to make a smooth wavy hair (ponytail!!).
Vertices : 3540

Additional Credits:
Nouk
HP
Delphy
Bosie

Thanks!

zondag 20 september 2009

Five Gagalicious Tees for Males

In between hairconversions I was in the mood for something simple. So here you go five t-shirts for males inspired by Lady Gaga. They are all recolorable except the last one.

Enjoy!

You can download them in the two formats:
In .Package file HERE.
In .Sims3Pack file HERE.

Additional Credits:
Lady Gaga.

vrijdag 18 september 2009

Anto 47 Middle Length Male Hair Conversion - Prince Of Persia Hair

I bring you another hair conversion. It was obviously inspired by the haircut of the Prince of Persia.


It's a TS2 to TS3 hair. The original mesh was made by Anto.


The hair is Teen trough Elder for males only.


It's fully recolorable. With propper working highlights, tips and roots. Thanks to Bosies tutorial.

Download it HERE.

Enjoy it!

Polygon Counts:
Polys: 4047. Yes, it's quite high, but the original mesh had 16256 Polys. I couldn't chop it down more without wonky looking hair. (Normal for mid lenght hair is about 2500 Polys.)
Vertices : 3133

Additional Credits:
HP
Anto at coolsims.net
Delphy
Bosie

Thanks!

dinsdag 15 september 2009

Anne Et Valentin Glasses - Retro inspired Glasses!

I've made another pair of retro inspired glasses. These are extravagant retro glasses made by two French designers Anne Et Valentin who live in Toulouse. I wear these glasses in real life.


They are available Teen trough Elder for Lads and Ladies. You can download them separately too if you'd like.


The glasses have one recolorable channel.


I hope you enjoy these!

You can download these in the two formats.
As a .package file HERE.
As a .sims3pack file HERE.

The file for male and female is included separately in both downloads.

Polygon Counts:
Polys: 666 (Same as In-game Nerdy glasses. DEVIL GLASSES!)

Additional Credits:
Anne Et Valentin for the amazing glasses.

zaterdag 12 september 2009

Fashion Victim Glasses - New stylish retro inspired Glasses!

There is a huge lack of glasses for The Sims 3. (Especially stylish ones!) So I made these new retro inspired glasses that go well with every style.


They are available Teen trough Elder for Lads and Ladies. You can download them separately too if you'd like.


They have two recolorable channels.


And front and side view for the nitpickers. (Like me! ;p )


I hope you enjoy these!

You can download these in the two formats.
As a .package file HERE.
As a .sims3pack file HERE.

The file for male and female is included separately in both downloads.

Polygon Counts:
Polys: 666 (Same as In-game Nerdy glasses.)

Additional Credits:
Tom Ford for the inspiration.

woensdag 2 september 2009

- Look at that hair! - Converted Anto 38 Hair

After a lot of hard work I present you my very first hair conversion!

It's a TS2 to TS3 hair. The original mesh was made by Anto.

The hair is Teen trough Elder for males only.

It's fully recolorable.


Download it HERE.

Thanks To:

HP
Anto at coolsims.net
Pooklet
Delphy
Bosie
and happy_simming.

Enjoy it!

dinsdag 1 september 2009

Up and coming Male Hair Conversion.

Here is a hair I've been working on. It will post it here soon!
In CAS:
And In-Game:

zondag 23 augustus 2009

Mirage Dress

Here is my second retexture. It's a vintage 50's dress with black lace for female sims (YF/AF) and it shows up under everyday and formal. There are two standard variations of the dress (see the pictures) and the dress has three recolorable channels.
As usual you can download it in the two formats.
In Sims3Pack format HERE.
In Package format HERE.
Enjoy it!

zaterdag 22 augustus 2009

New bumpmaps for clothing with the TSR Workshop Tutorial

Before using this tutorial I want you to read and do Sinastra's In Depth Clothing Re- Texturing Tutorial for the TSR Workshop, if you don't know how to retexture yet!

New bumpmaps for clothing with the TSR Workshop Tutorial

Welcome to my "New bumpmaps for clothing with the TSR Workshop" tutorial. Before we begin, I assume you have read Sinastra's wonderfull In Depth Clothing Re-Texturing Tutorial for the TSR Workshop. Therefore I stress that this tutorial will not learn how to manipulate DDS files in any way.

This tutorial will help you get rid of the old bumpmaps and teach you how to create new ones with TSR Workshop. Re-texturing is new to me so this tutorial will not be perfect. I hope it still helps you with learning how to create new items for The Sims 3 without those hideous old bumpmaps.

Note: You can make the pictures bigger by right clicking and selecting "view image."

1: Let's get started!

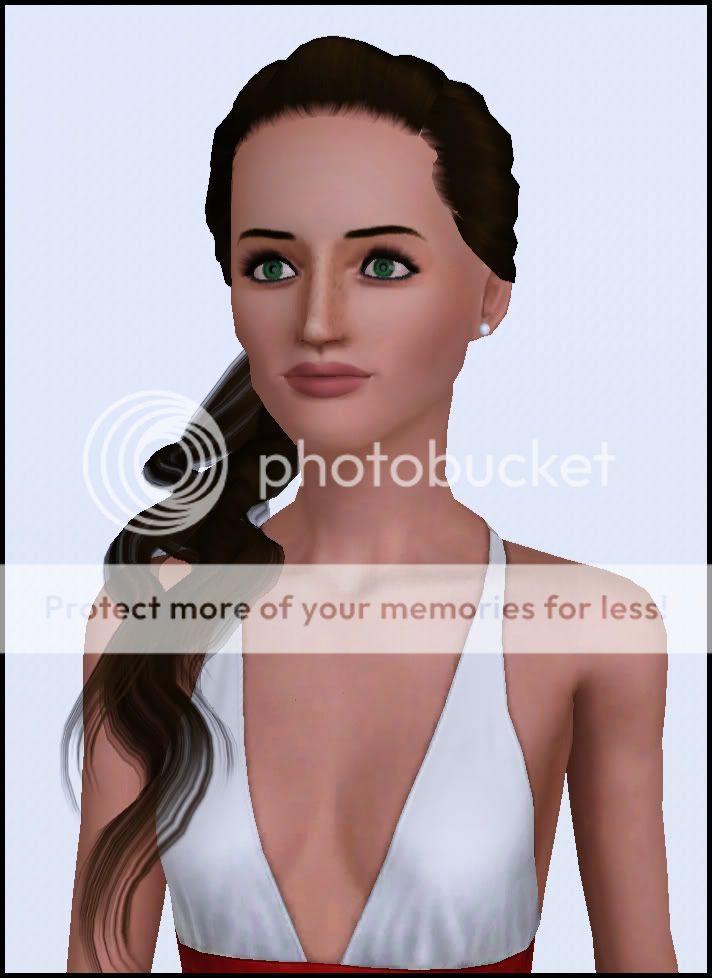
As stated before I assume you have done Sinastra's tutorial. When you have finished it you sometimes (depending on the base mesh you used to retextured) see an old bumpmap showing trough in the game. Darn... Al that work just to see it being ruined by a bumpmap!

Well when I had the same problem (See pic above!), I fooled around and found a solution! I'll teach you how you can get New bumpmaps for clothing with TSR Workshop.

So, when you have retextured a mesh you should have a new Overlay, a new Clothing Multiplier, a new Clothing Specular. Here is my example dress with all these in TSR Workshop with my new DDS files next to it!

You have to import these DDS files in the right places.

To do this click "key:numbers" (in bold in TSR Workshop next to Overlay, Mask, Multiplier and Clothing Specular), there will appear three dots, click them and select import in the new window.

Your New Overlay must be entirely black.

On to the next part! -->

2: What to use as a bumpmap? The three options :

When it comes to choosing your bumpmap you have three options. All off these should be a DDS file created in the same way as a Clothing Multiplier or Clothing Specular.

1- No bumpmap.

This is the simplest option. For this you can use your New Overlay, the entire black one.

2- Complete bumpmap.

I recommend this option because it's the easiest and the one with the nicest result (in my opinion). You use your New Multiplier to create this bumpmap, so you don't need to edit it in Photoshop CS3, CS4 or Gimp or whatever program you use.

3- Partial bumpmap.

This one requires the most time because you've got to edit your New Multiplier. With this technique you can highlight parts of your clothing with a bumpmap. You can use an edited New Multiplier.

Once you have chosen which of the three you will use and done the necessary editing (if you chose option 3), move on to the next part/page of the tutorial.-->

3: Inserting the new bumpmap in TSR Workshop.

Now the slightly scary part. For this one you will have to trust me. Once you import the new bumpmap the preview of the workshop will become black and wonky. Don't freak, follow the tutorial!

After this little warning back to work! The first part of this tutorial has been located under the Texture tab in the TSR Workshop. Now we move to the Mesh tab (Click it).

Depending on the Base Mesh you have chosen there will be one or two Geometry Entries. This doesn't change the result if you change the same DDS files in both Geometry Entries with the same New File.

My Base Mesh has two Geometry Entries. Let's check out the first Entry. I'll explain what everything means.

A - Vertices: This is the base mesh (In one part if you have one Geometry Entry or in two if you have two Geometry Entries), you can edit this one with milkshape. But we will not be doing any meshing in this tutorial, so ignore it.

B - First DDS: When you click it you will see an unidentified DDS. This DDS has no obvious use and we don't need it for a new bumpmap so again ignore it.

C - Second DDS: This is an important one! Here you should import your new Bumpmap (See section 2: What to use as a bumpmap: The three options.) and thus replace the original. Once you have done this the preview will go black and wonky, how difficult it may be, ignore it.

D - Third DDS: Here you need to upload your New Clothing Specular, the same DDS you used under the Texture Tab.

If there are two Geometry Entries repeat this in exact the same order, with exact the same DDS files!

Almost there! Save your project and re-open it. Export and test in-game.

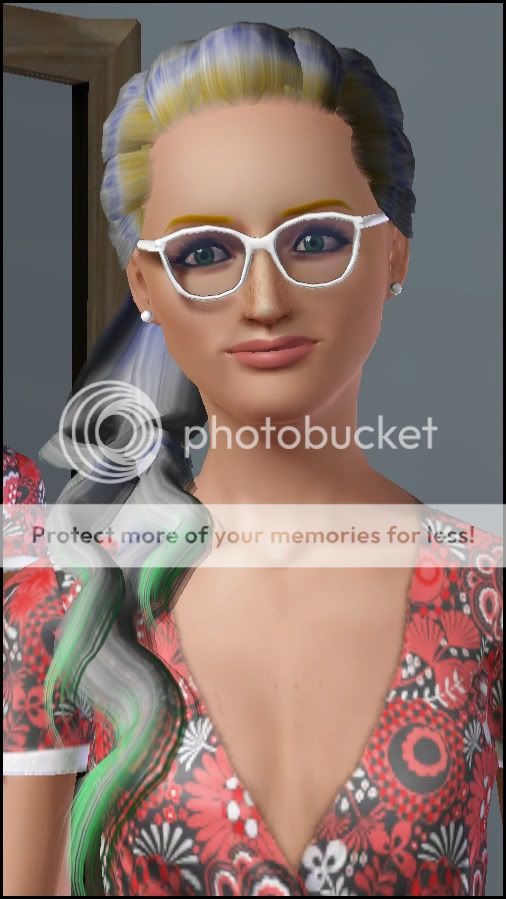
Hello, new bumpmap! Nice isn't it?

There we are, at the end of the tutorial. I hope I helped and good luck creating!

If you have questions or comments leave them here!

donderdag 20 augustus 2009

Paisley Infinitum Pattern


This paisley pattern looks great on... well about anything really! It has three recolorable channels and will make the clothing and houses of your sims even more in fashion!

You can download it in two formats:
In .package format HERE.
In .sims3pack format HERE.

Enjoy!

Drama Dress


My first retexture I ever made for anything, I really spend a lot of time on this one! It's a elegant dress for female sims (YF/AF) and it shows up under everyday and formal. There are two standard variations of the dress (see the pictures) and the dress has three recolorable channels.


You can download it in the two formats.
In Sims3Pack format HERE.
In Package format HERE.
Enjoy it!

New Sims 3 Blog

Welcome to my new Sims 3 Blog! Here I'll post my new (and my old) Sims 3 Creations. Enjoy them!